การแยกประเภทลูกค้าในระบบร้านยา เพื่อจัดการร้านค้าอย่างมีประสิทธิภาพ
การแยกประเภทลูกค้าเป็นฟังก์ชันที่สำคัญและมีประโยชน์หลากหลาย ไม่ว่าจะเป็นการวิเคราะห์รายได้จากการขายว่ากลุ่มไหนขายดี กลุ่มไหนทำกำไรได้ดีกว่า หรือกลุ่มไหนมีกำลังซื้อน้อย เพื่อนำข้อมูลเหล่านี้ไปวิเคราะห์เชิงการตลาดต่อไป รวมถึงการกำหนดราคาขายสินค้าให้เหมาะสมกับกลุ่มลูกค้าแต่ละประเภท เพราะลูกค้าคนละกลุ่มมักไม่สามารถขายสินค้าใน ราคาเดียวกัน ได้อย่างแน่นอน
เช่น กลุ่มลูกค้าทั่วไปหรือลูกค้าขาจร มักจะขายในราคามาตรฐาน ในขณะที่กลุ่มลูกค้าประจำ หรือกลุ่มลูกค้า VIP จะได้รับ ราคาพิเศษ มากกว่า ระบบร้านยาทีฟาร์ม (tPHARM) จึงออกแบบให้สามารถกำหนดราคาขายตามประเภทลูกค้าได้ เหมาะกับร้านที่ต้องการใช้ online pos, ระบบร้านยา, โปรแกรมร้านขายยา หรือ pos free เพื่อช่วย จัดการร้านค้า และ บริหารสต็อกสินค้า อย่างเป็นระบบ
วิธีผูกราคาขายกับกลุ่มลูกค้าในระบบ tPHARM
การผูกราคาขายกับกลุ่มลูกค้าหรือกับลูกค้าแต่ละรายในระบบ tPHARM สามารถทำได้ตามขั้นตอนต่อไปนี้
-
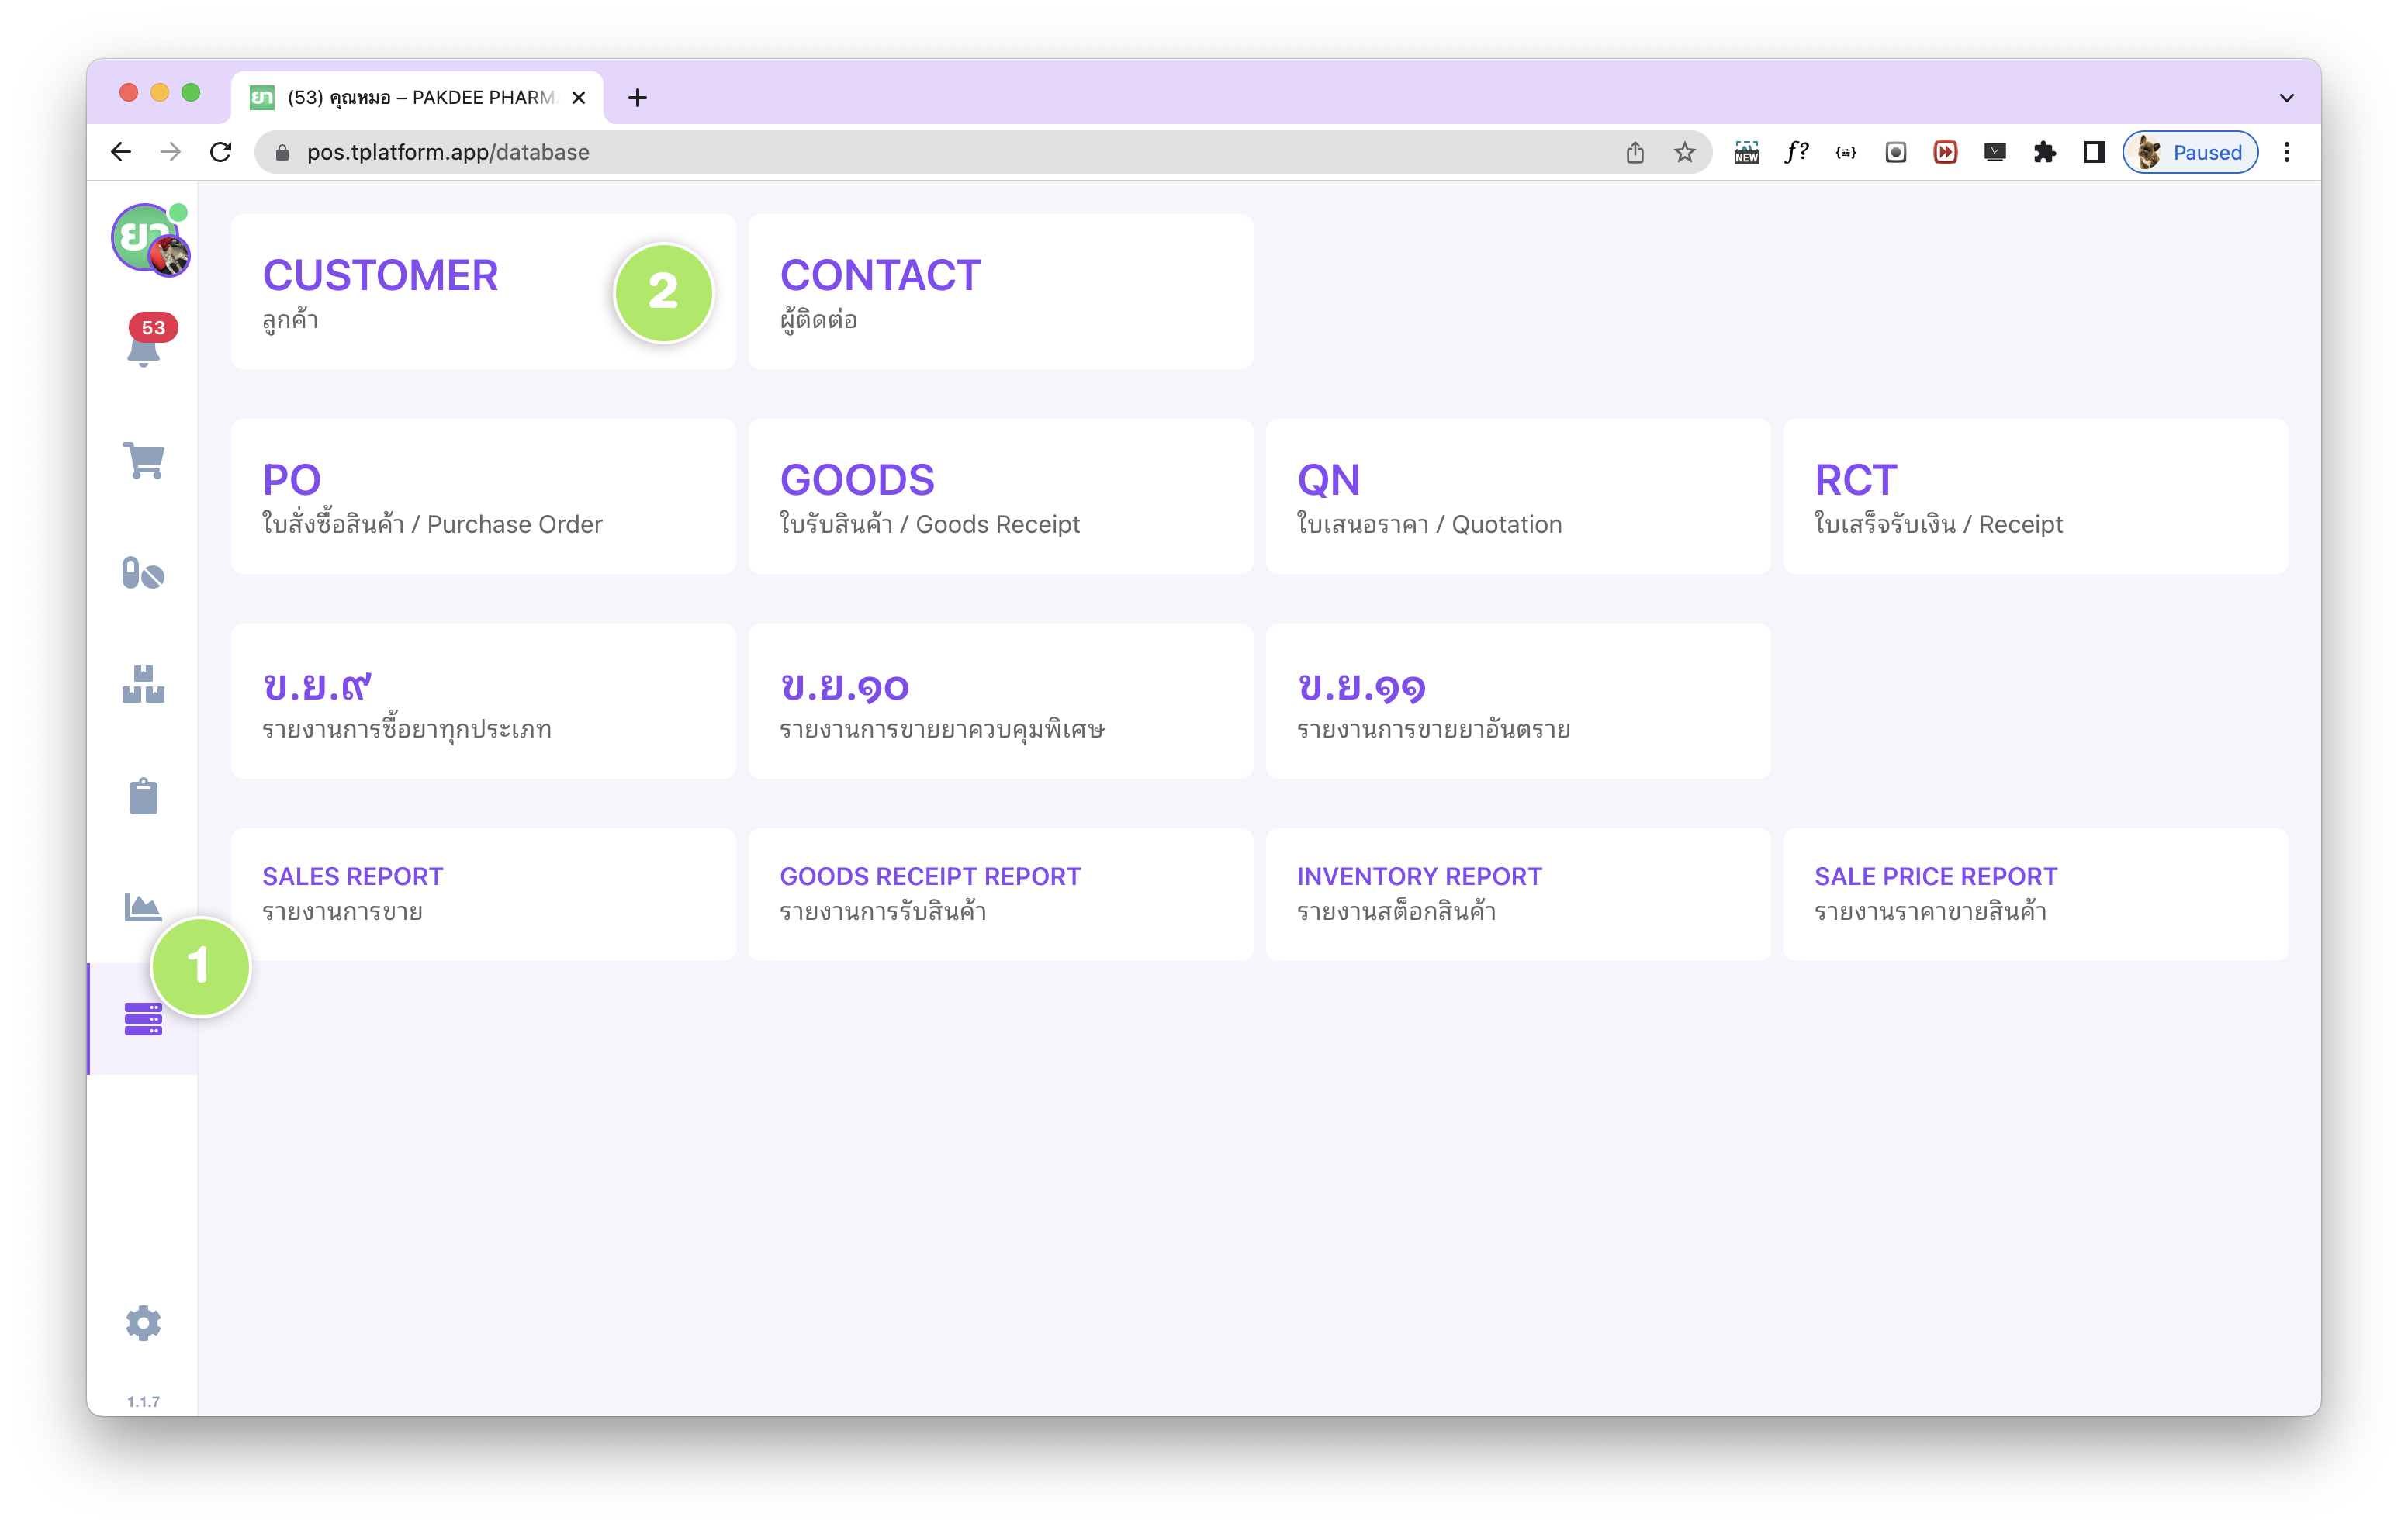
ไปที่แถบ (1) เมนู ฐานข้อมูล ด้านซ้าย จากนั้นเลือก (2) “Customer / ลูกค้า”
ใน หน้าฐานข้อมูลลูกค้า ซึ่งเป็นที่เก็บข้อมูลลูกค้าทั้งหมดของร้าน
(หากต้องการดูวิธีการเพิ่มลูกค้า สามารถดูได้ที่ลิงก์นี้)
-
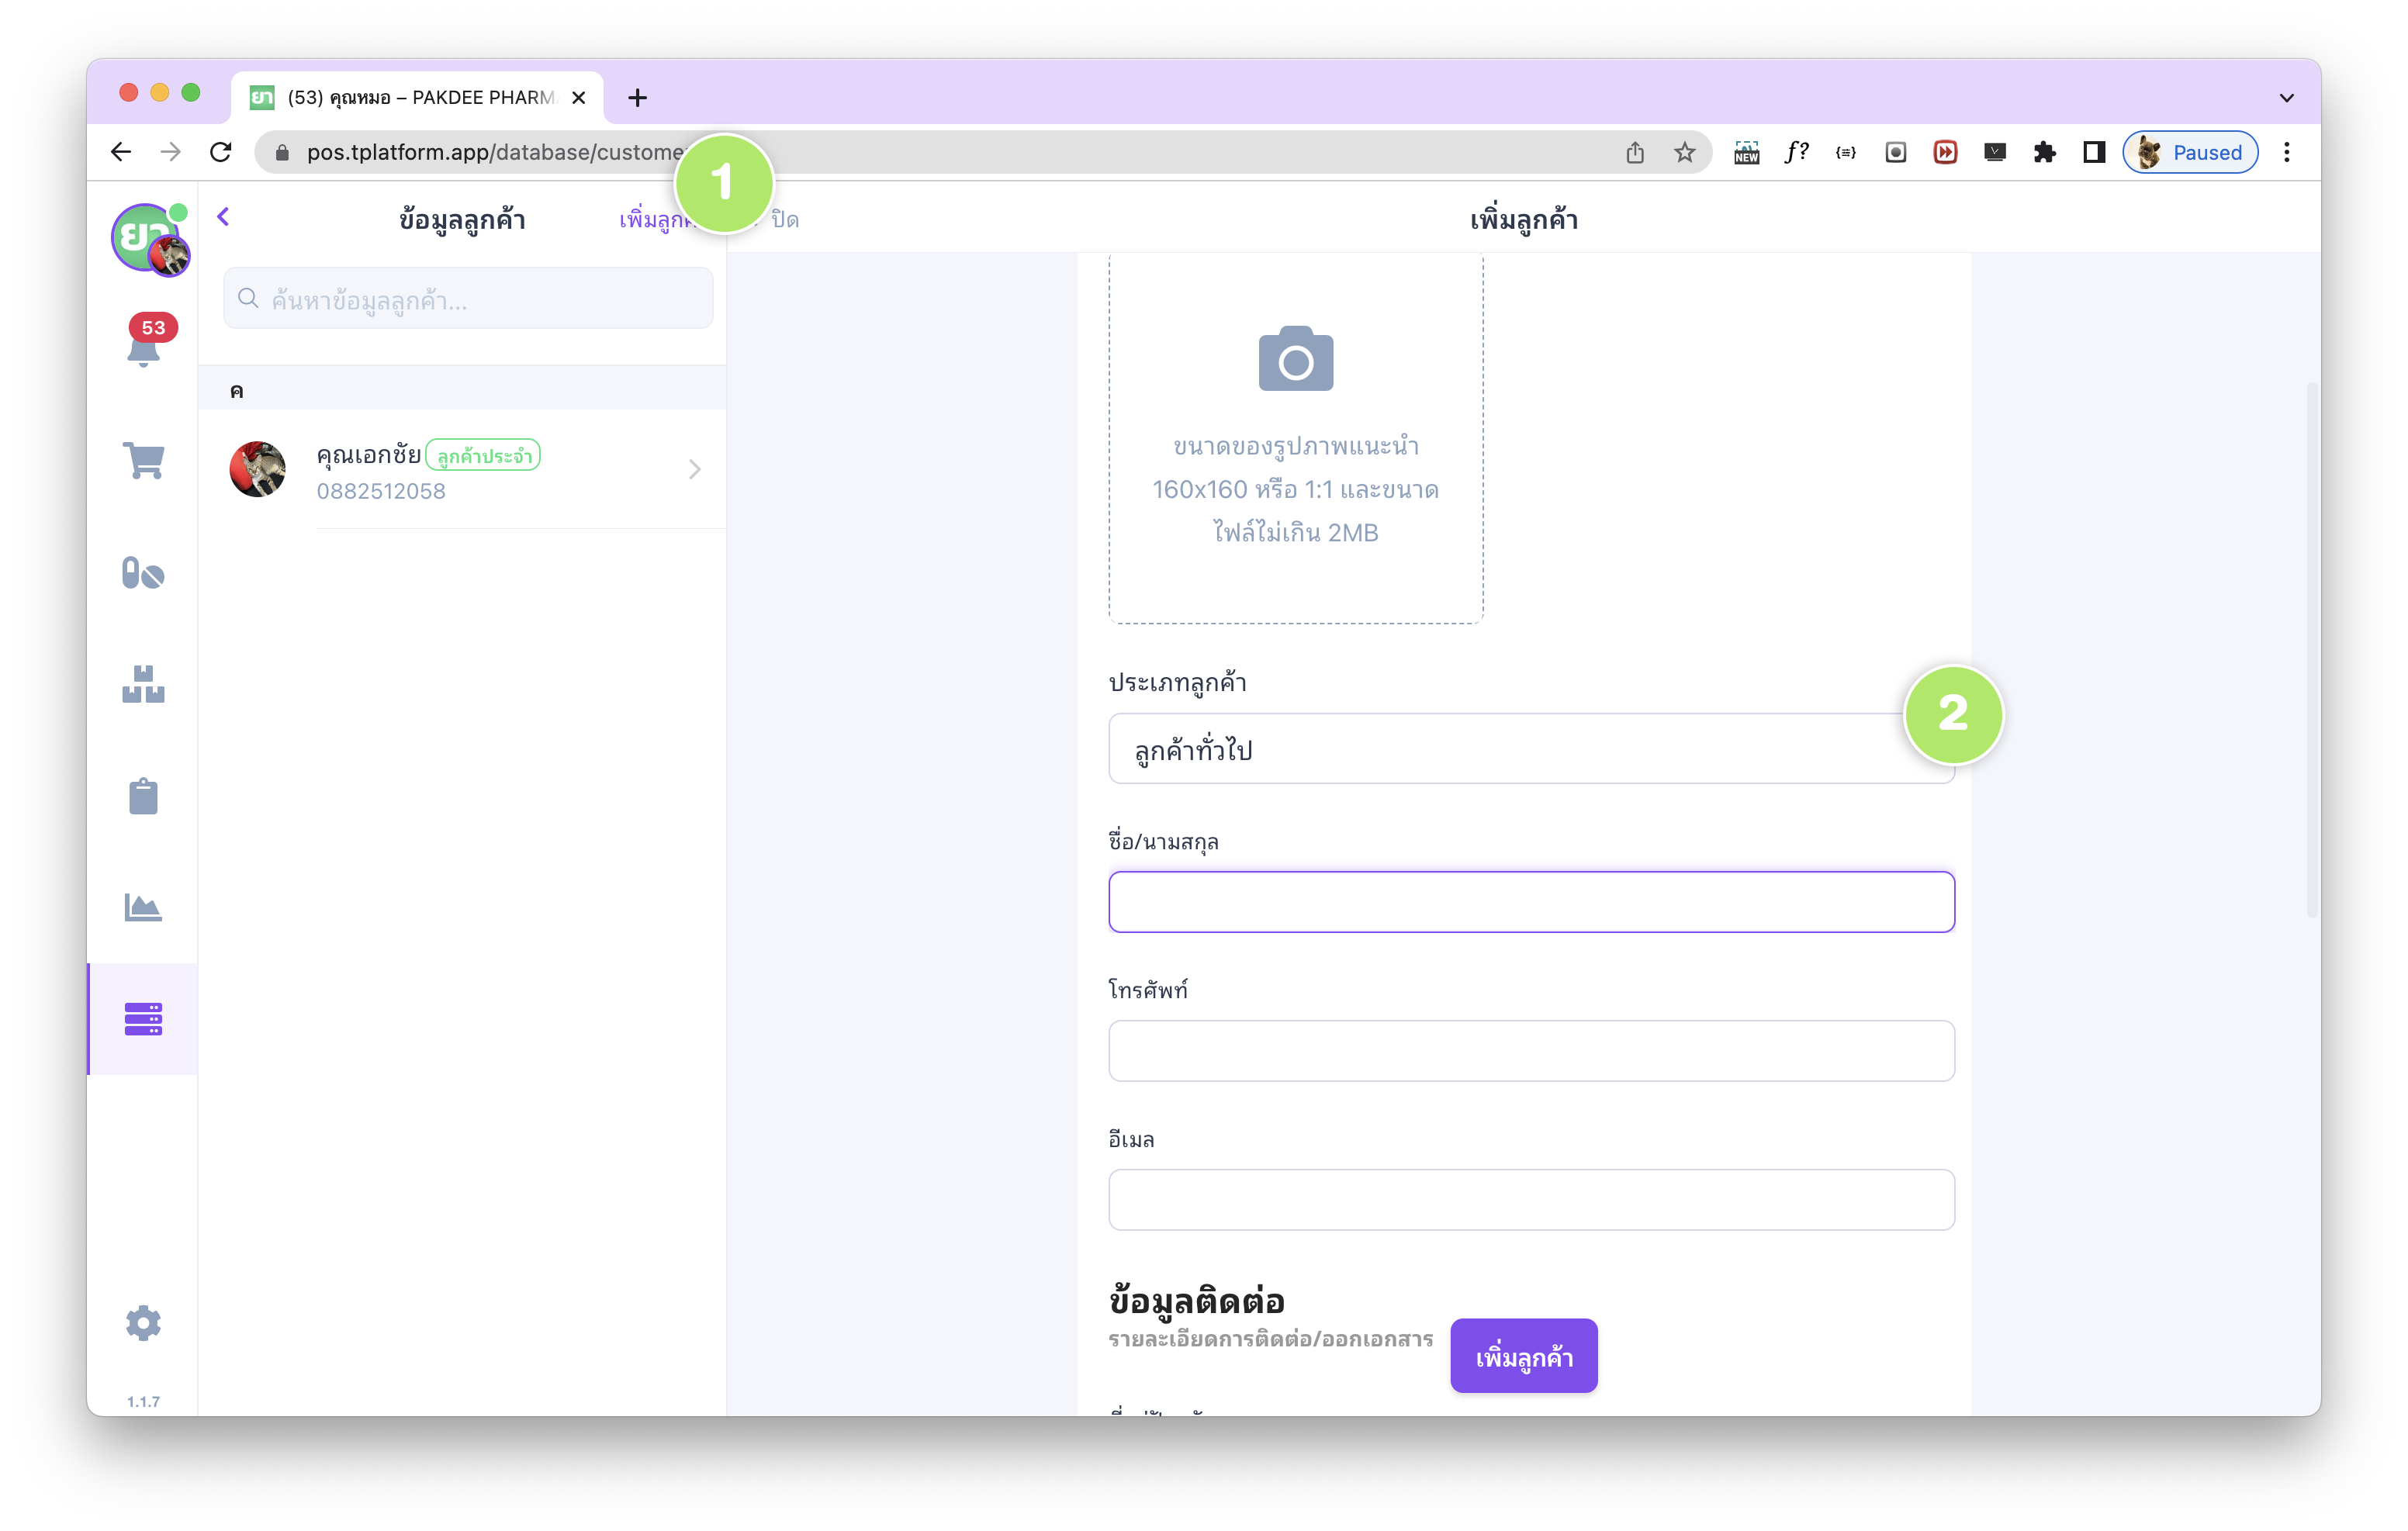
หากต้องการเพิ่มลูกค้าใหม่ ให้เลือกปุ่ม (1) “เพิ่มลูกค้า”
จากนั้นจะพบกับฟอร์มข้อมูลลูกค้าของร้าน และหัวข้อ (2) ประเภทลูกค้า
ซึ่งจะมีค่าเริ่มต้นเป็น ลูกค้าทั่วไป ร้านค้าสามารถเปลี่ยนประเภทลูกค้าได้จากส่วนนี้
-
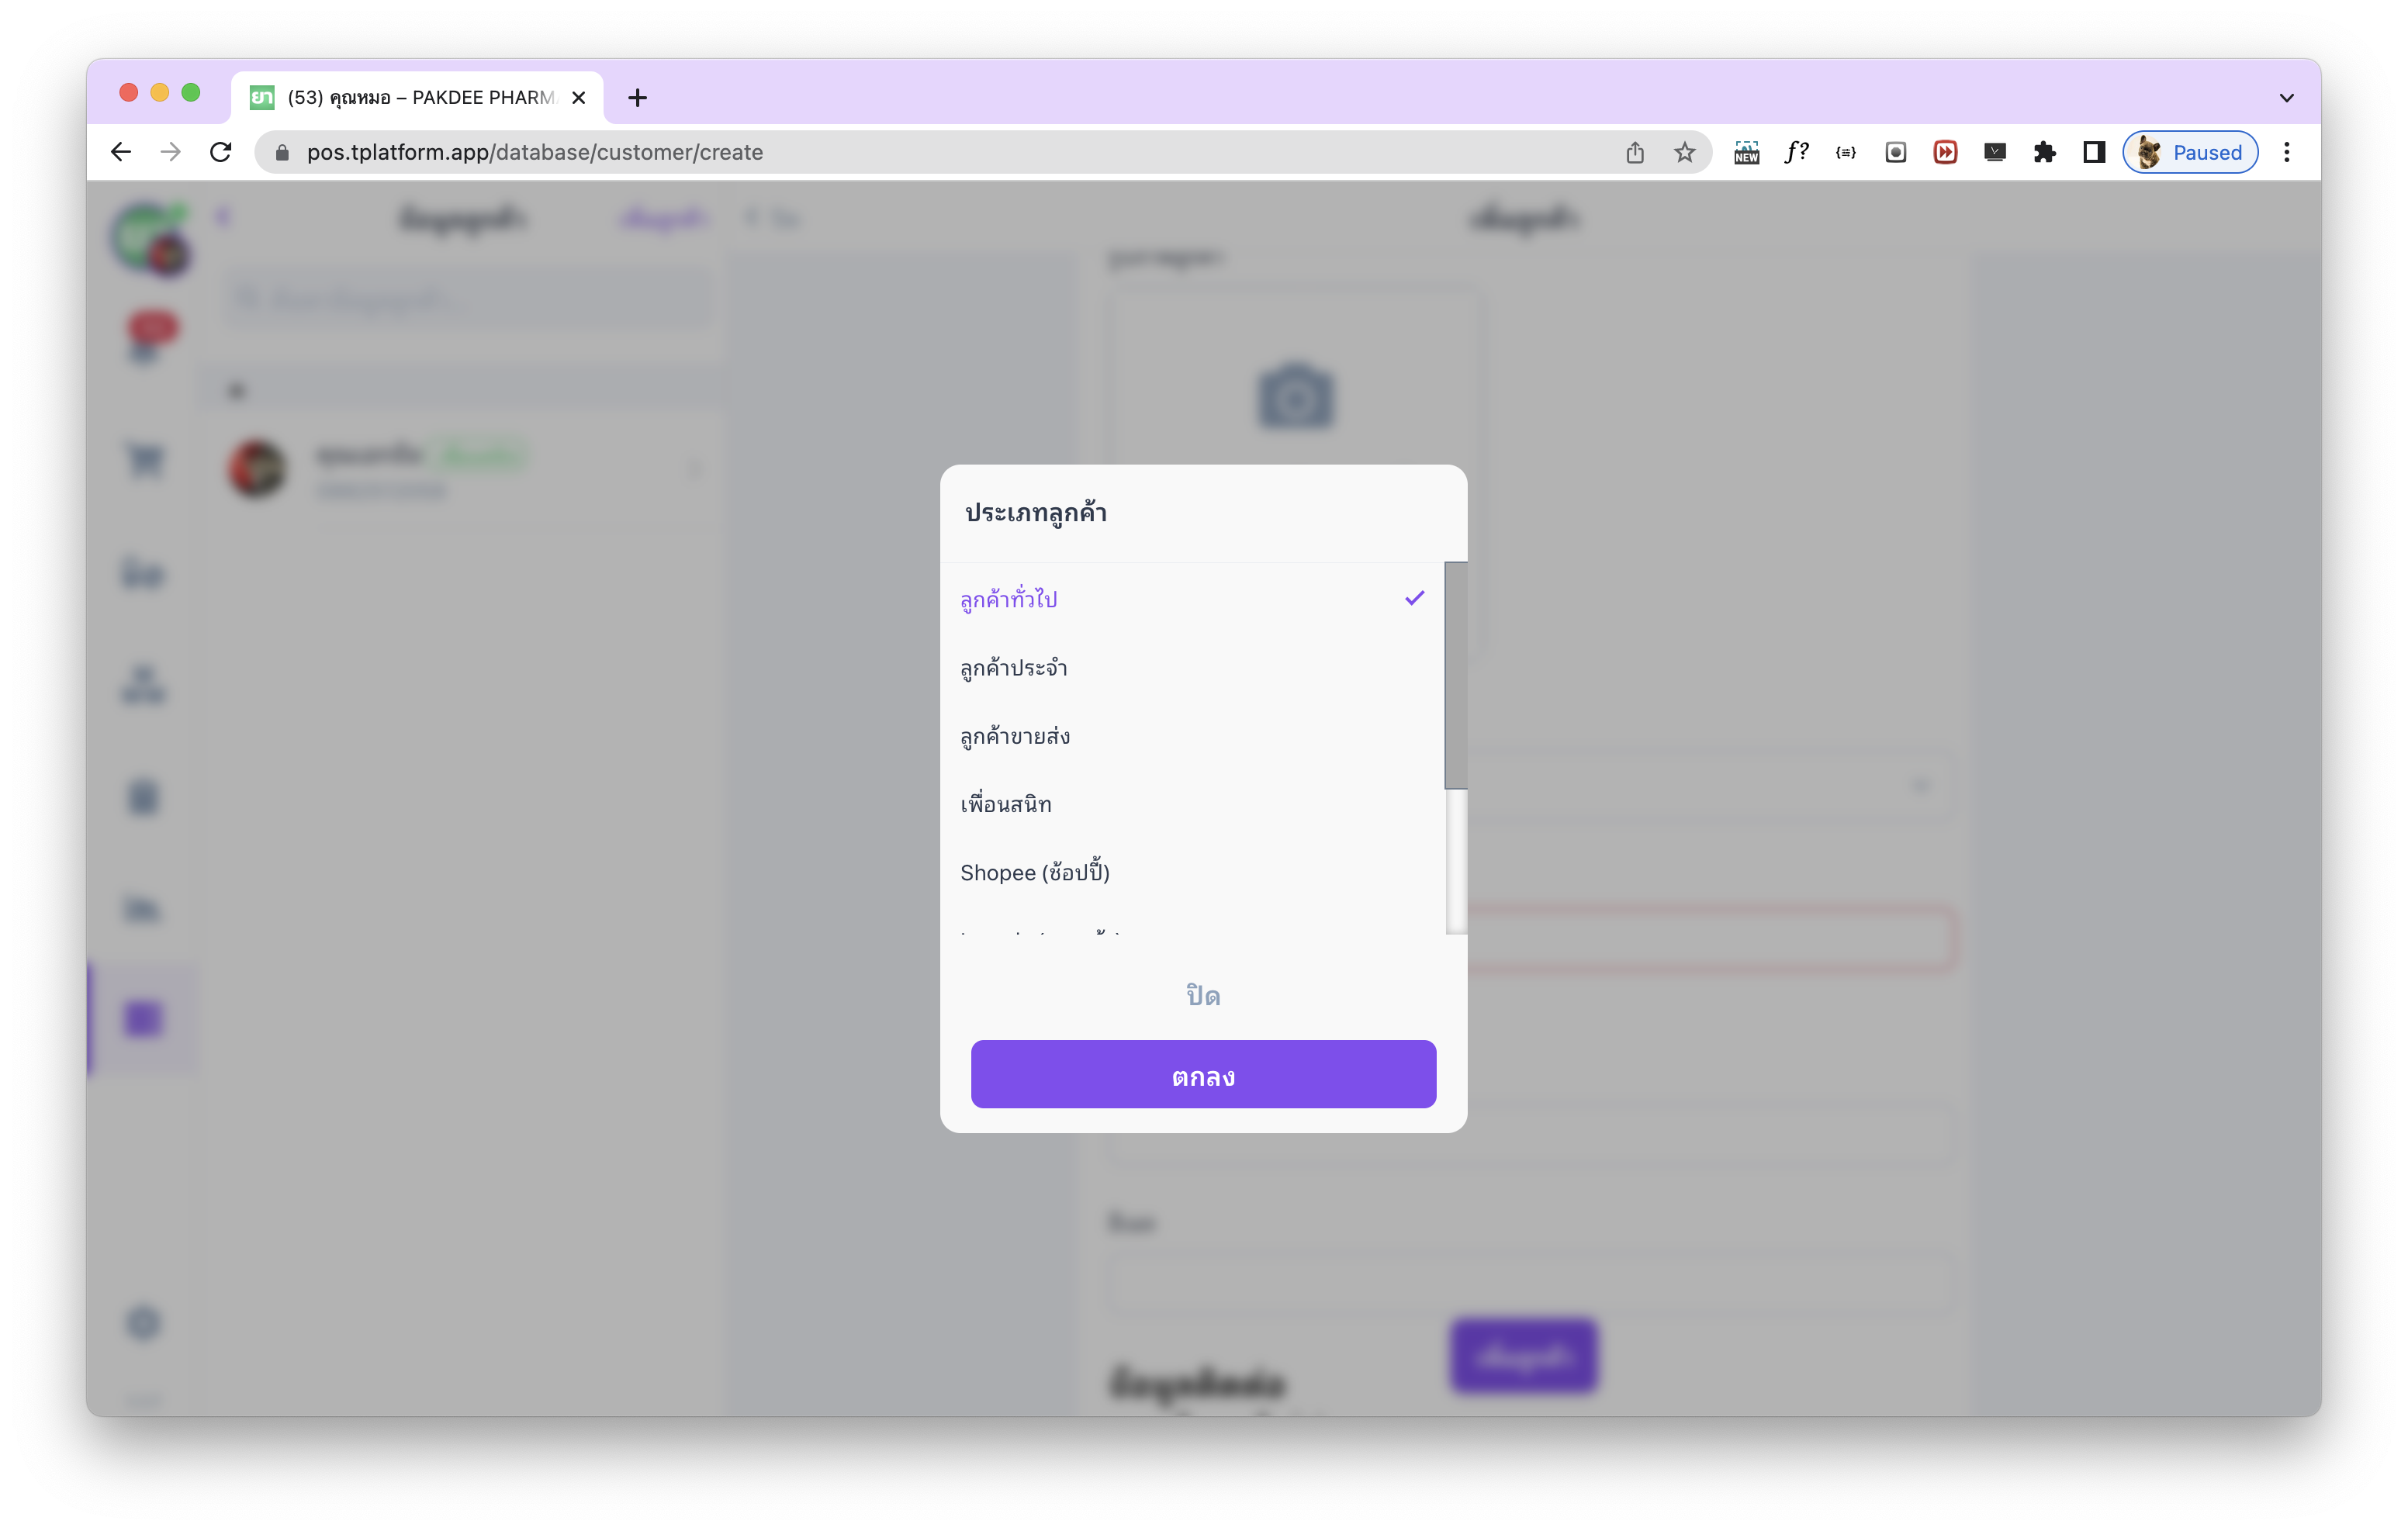
รายการประเภทลูกค้าที่ระบบทีฟาร์มเตรียมไว้ เช่น ลูกค้าทั่วไป, ลูกค้าประจำ, ลูกค้าขายส่ง, เพื่อนสนิท, Shopee, Lazada เป็นต้น
หมายเหตุ: ระบบทีฟาร์มยังไม่มีฟังก์ชันเชื่อมต่อกับแพลตฟอร์มภายนอก
-
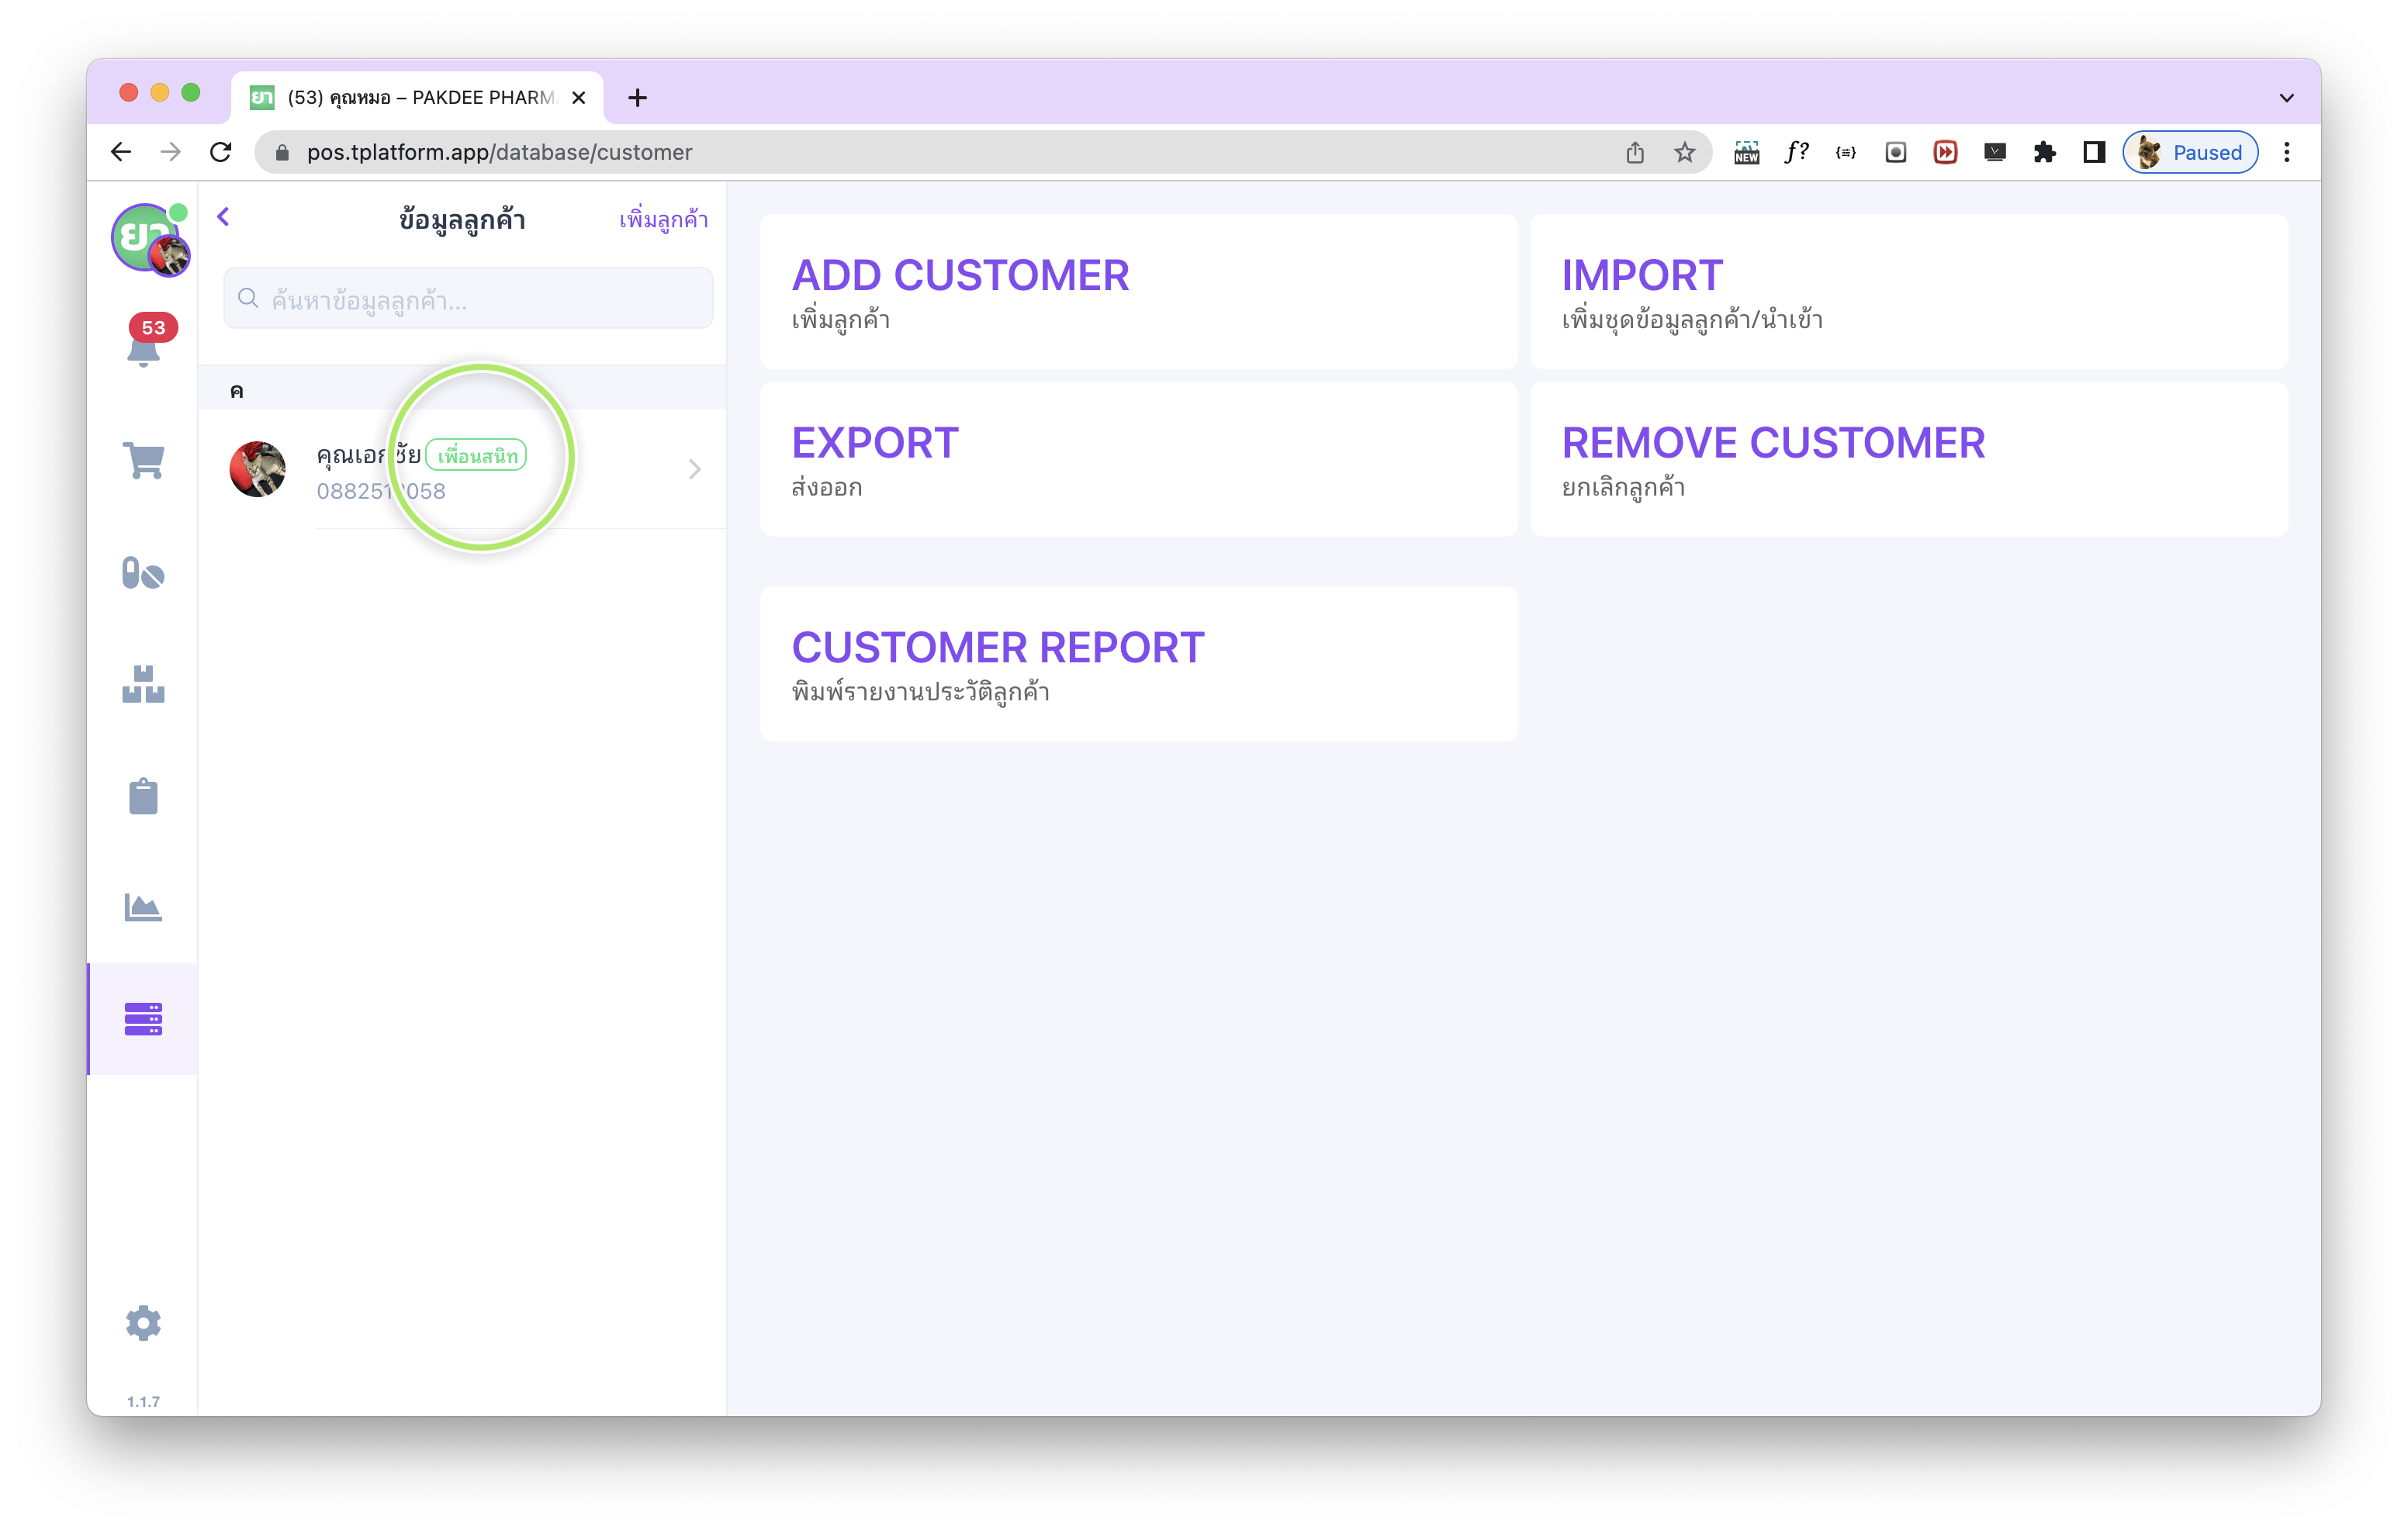
เมื่อเลือกประเภทลูกค้าเรียบร้อยแล้ว ในแถบรายการลูกค้าด้านซ้ายจะมีการติดป้ายแท็กประเภทลูกค้าตามที่ตั้งค่าไว้ เช่น “เพื่อนสนิท” เป็นต้น
หากรายการลูกค้ายังไม่อัปเดต ลองเปลี่ยนไปเมนูอื่นก่อน แล้วกลับเข้ามาที่หน้าฐานข้อมูลลูกค้าอีกครั้ง
-
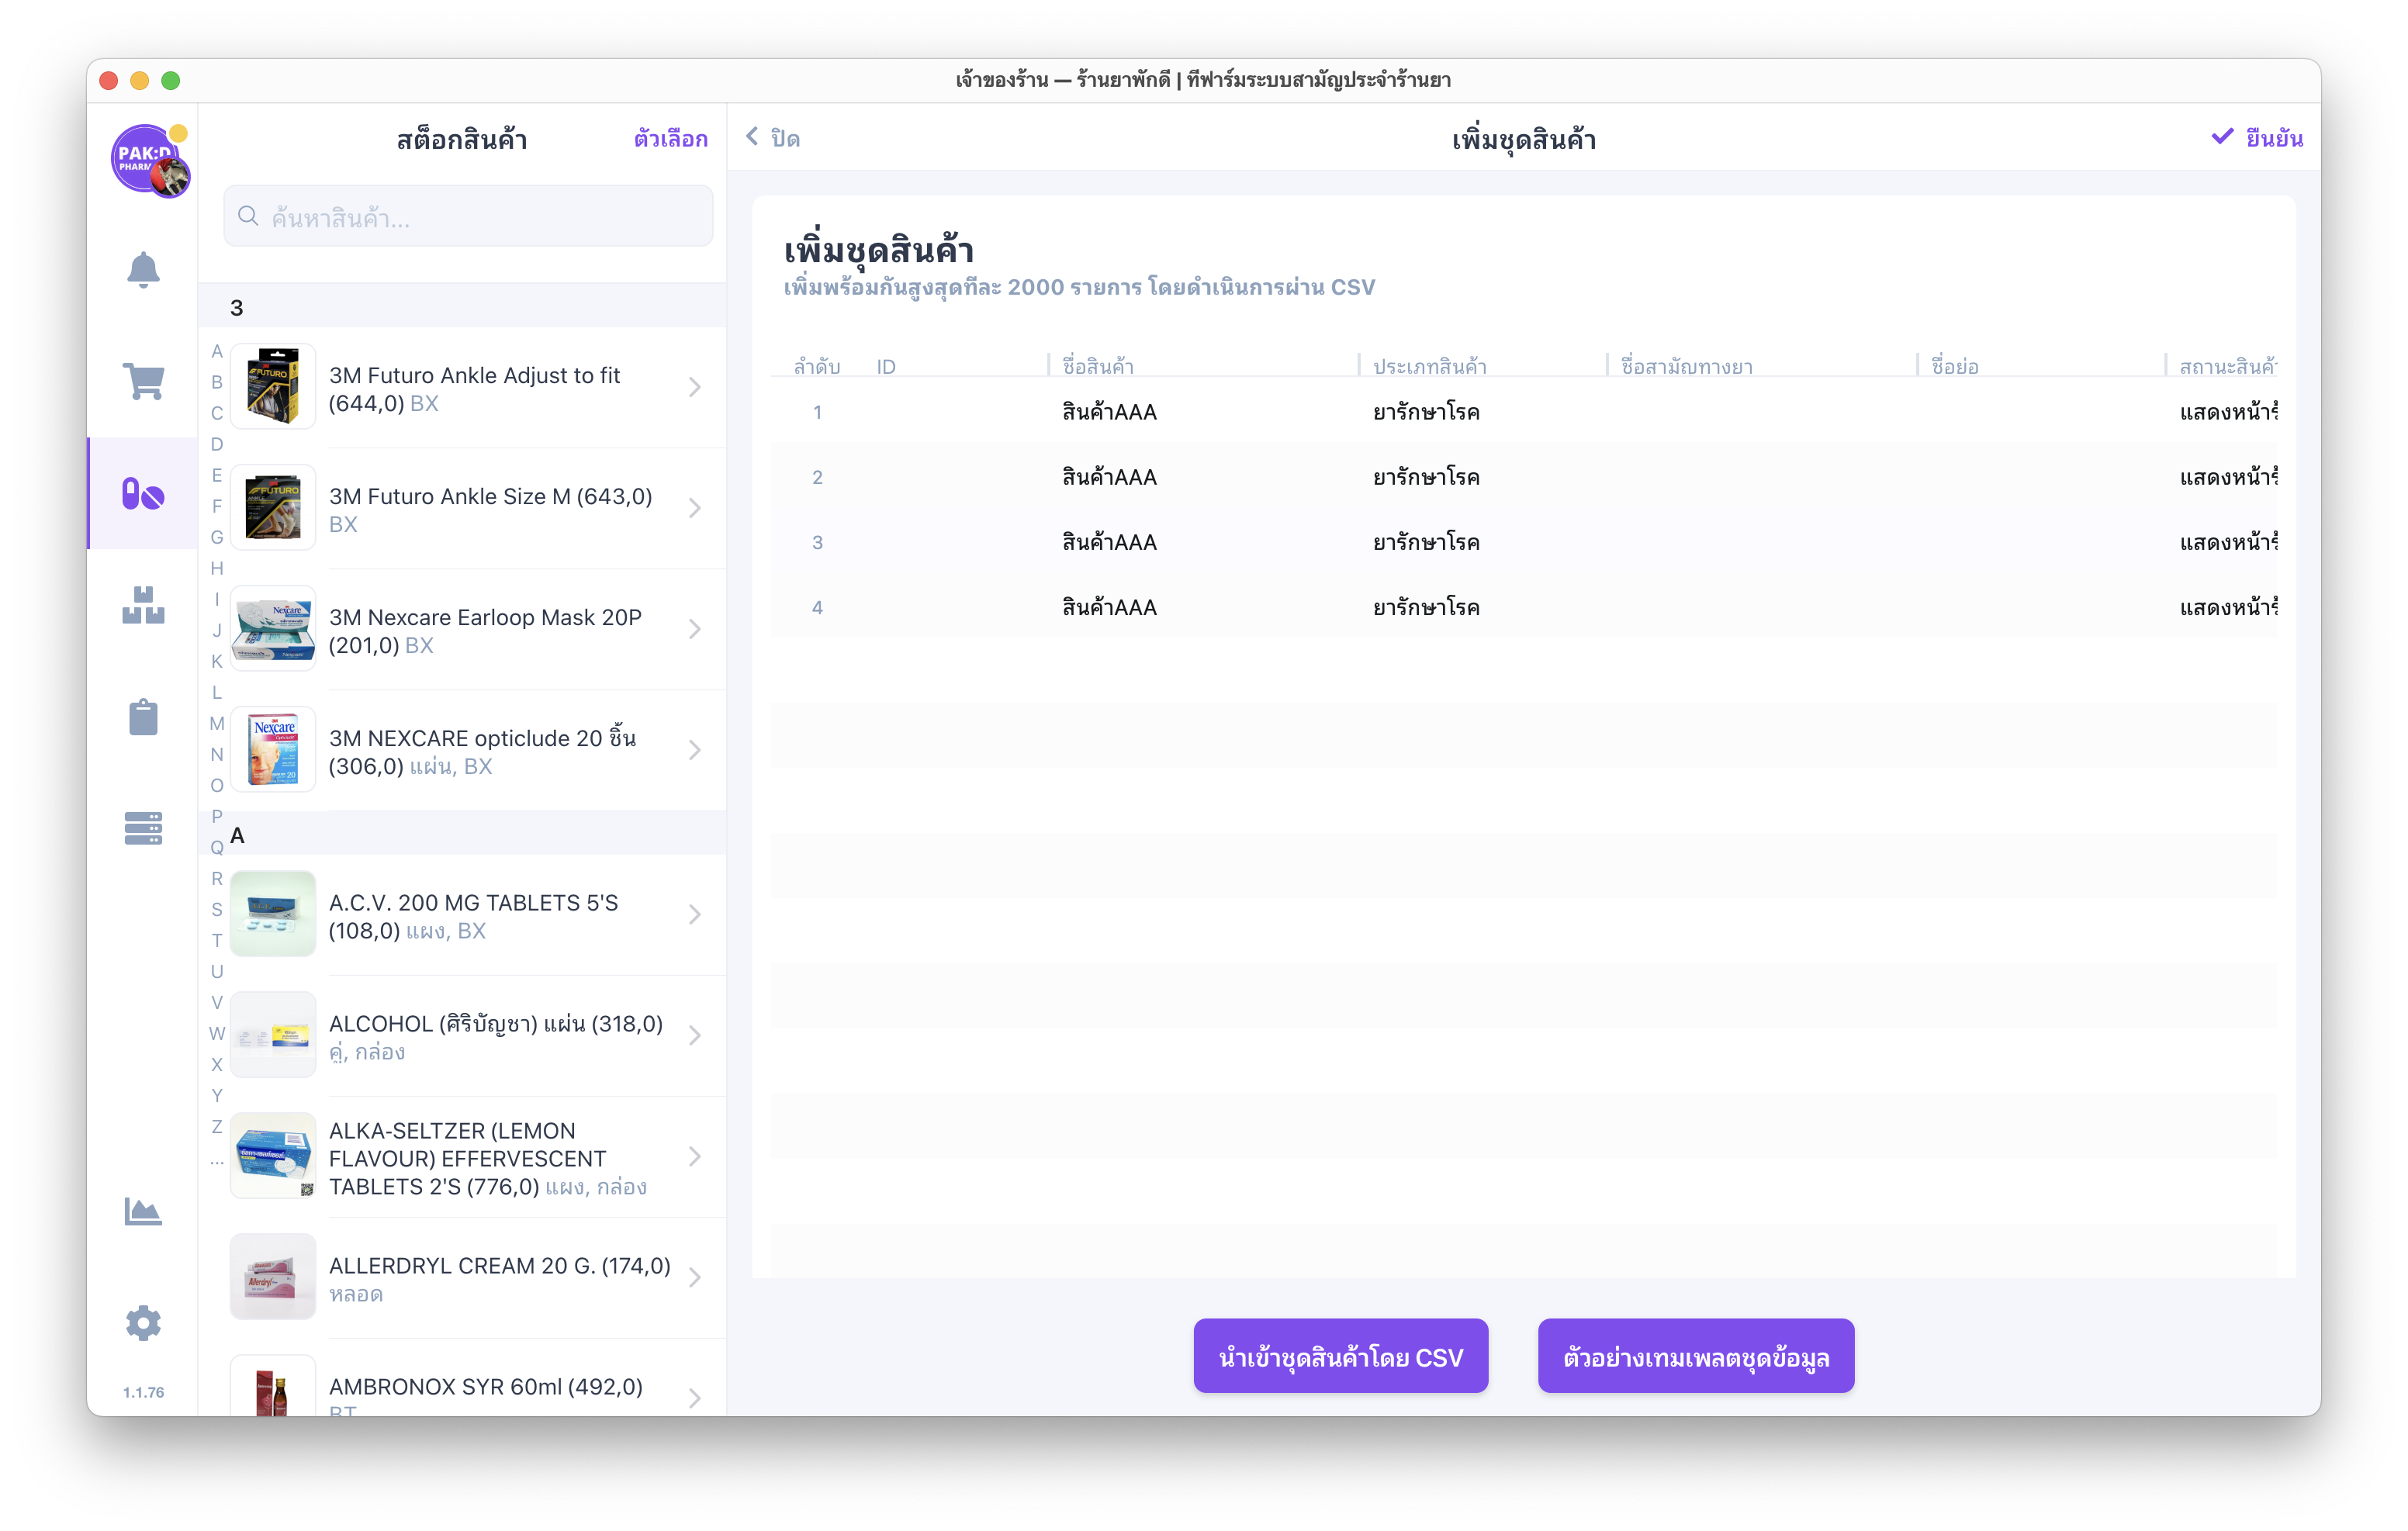
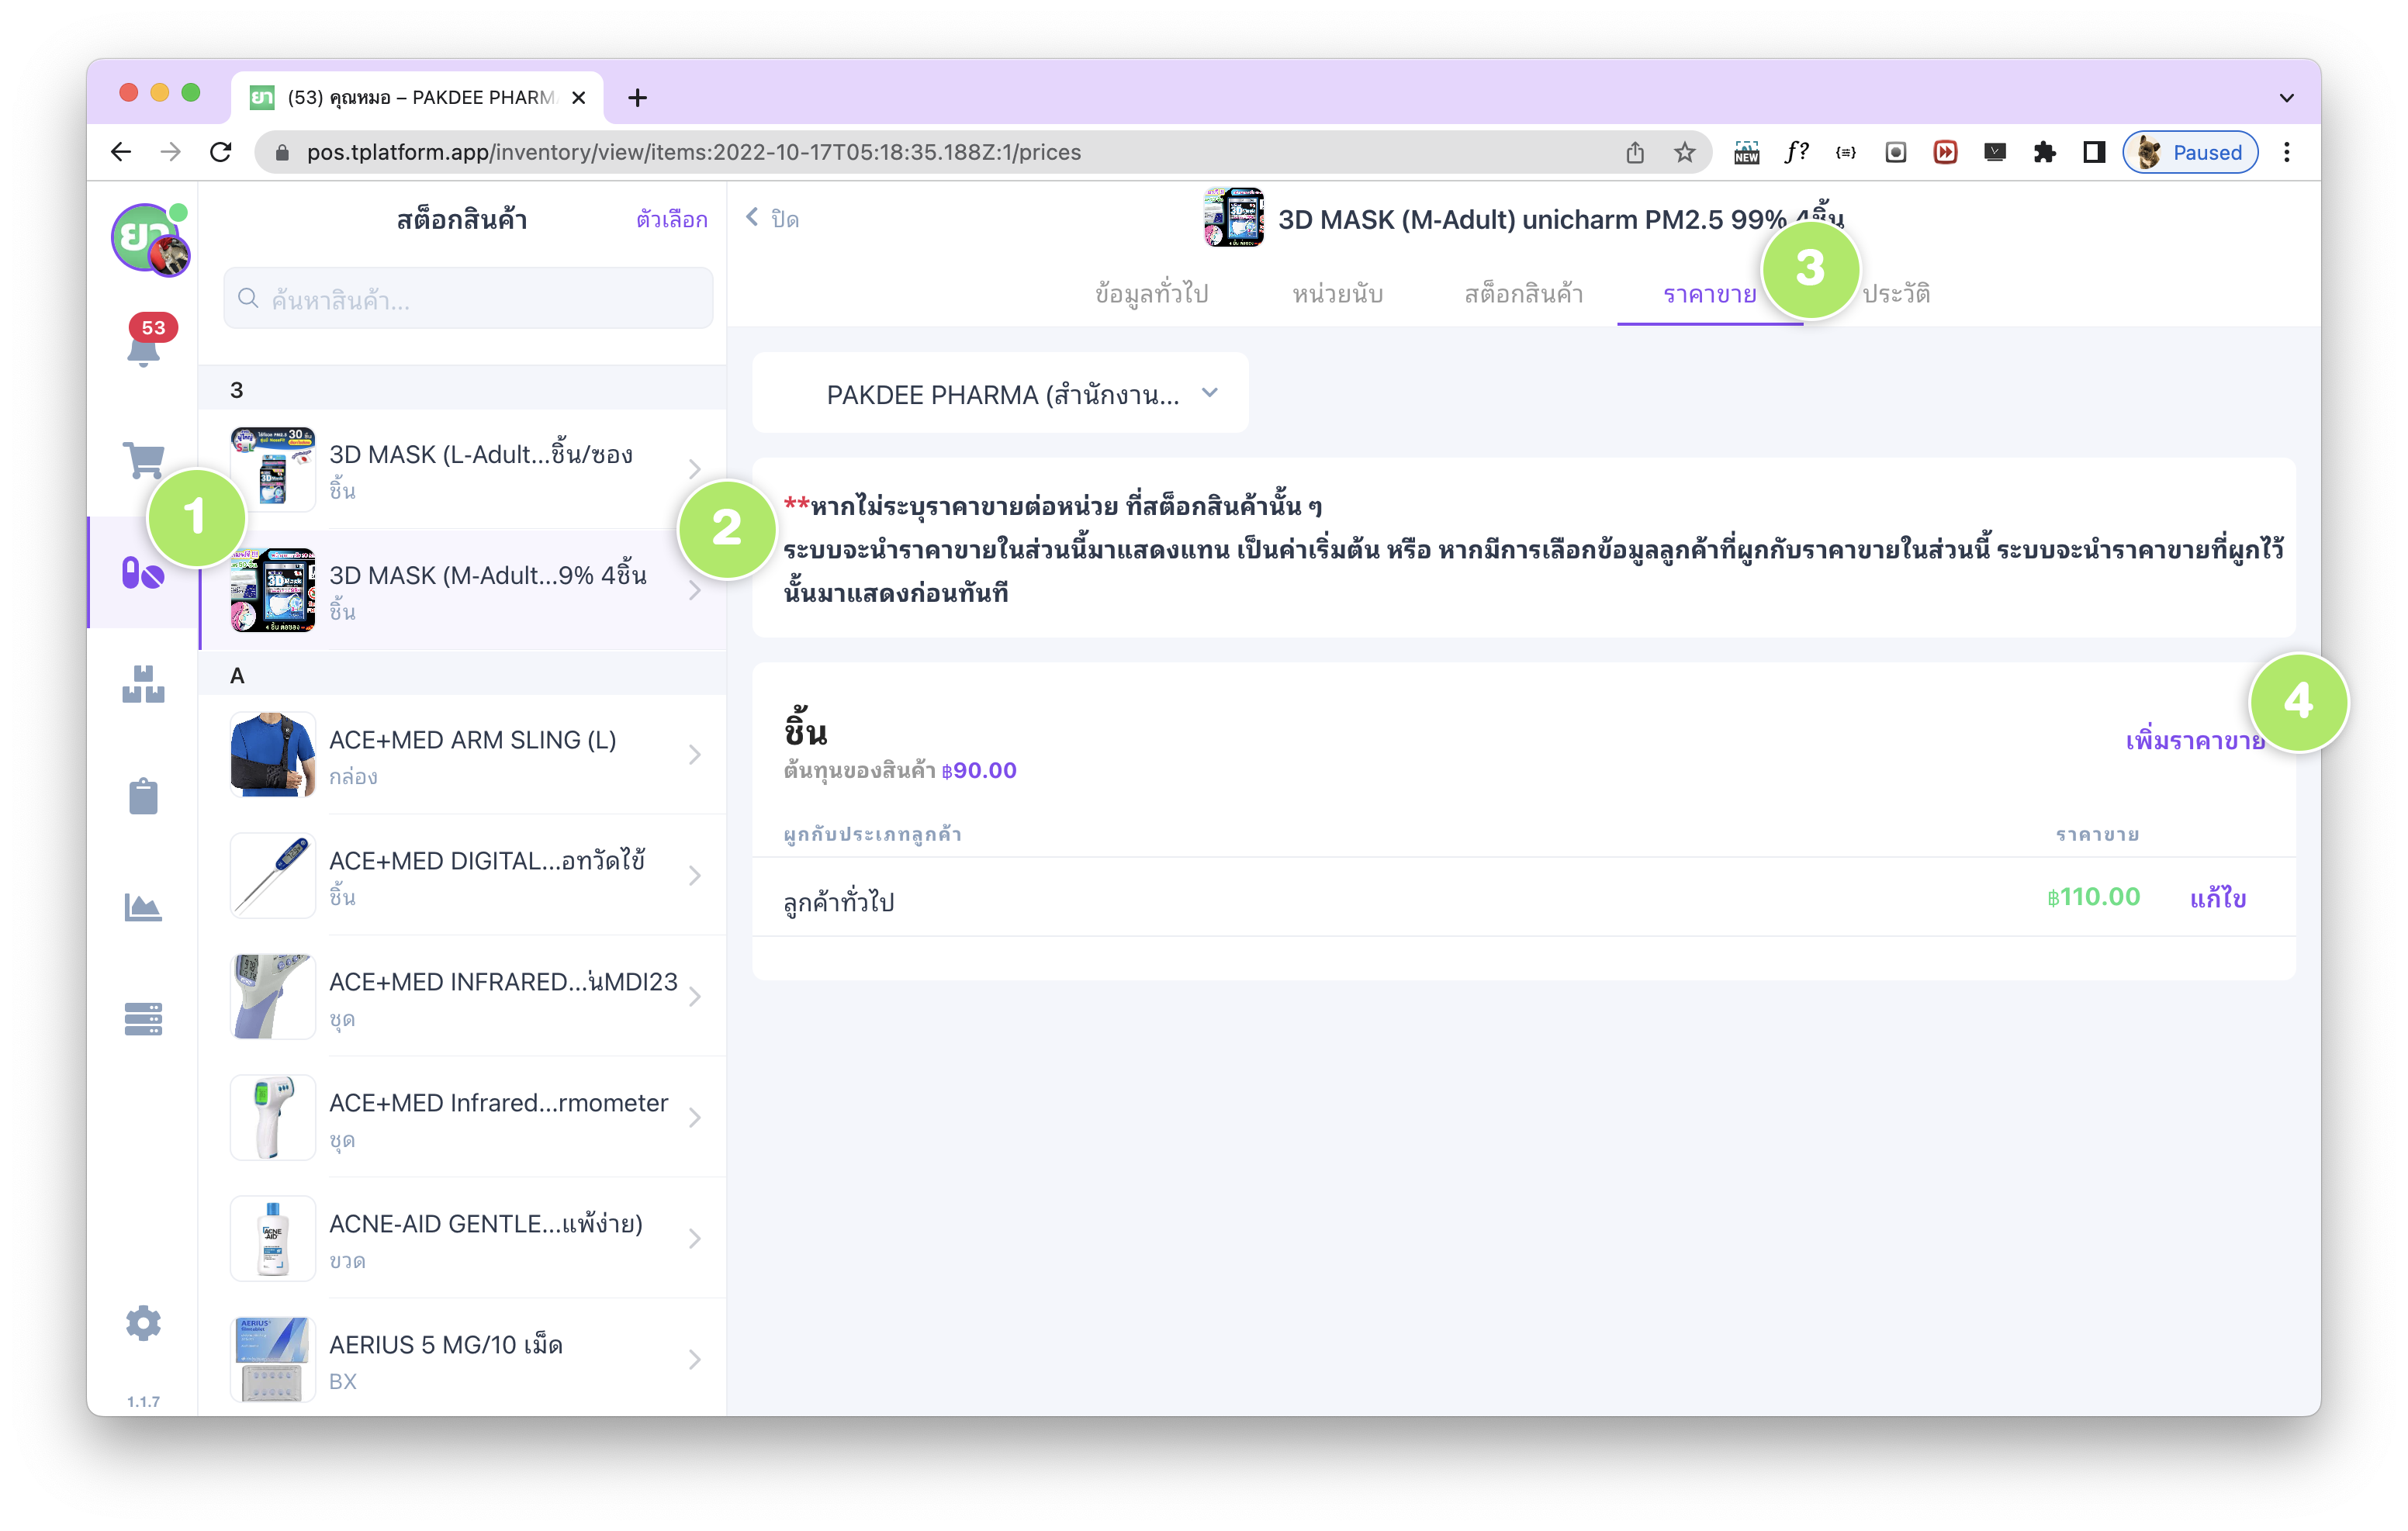
ขั้นตอนต่อไปคือการตั้งราคาขายสินค้าให้สอดคล้องกับประเภทลูกค้าที่เลือกไว้ (เช่น เพื่อนสนิท) โดยให้ไปที่เมนู (1) สต็อกสินค้า จากแถบด้านซ้าย
แล้ว (2) เลือกสินค้าที่ต้องการตั้งราคาขาย ระบบจะแสดงรายละเอียดสินค้าพร้อมแท็บด้านบน ได้แก่ ข้อมูลทั่วไป, หน่วยนับ, สต็อกสินค้า, ราคาขาย และประวัติ
ให้เลือกแท็บ (3) “ราคาขาย”
หากต้องการแก้ไขราคาขายเดิมให้เลือกแถวราคาขายนั้นแล้วกดปุ่ม “แก้ไข” แต่หากต้องการเพิ่มราคาขายใหม่ให้เลือก (4) “เพิ่มราคาขาย”
-
ระบบจะแสดงแบบฟอร์มการเพิ่มราคาขายใหม่ โดยต้องระบุข้อมูลการ ผูกกับประเภทลูกค้า และราคาขายต่อหน่วย
ร้านค้าสามารถกำหนดราคาขายให้แตกต่างกันตามประเภทลูกค้าได้จากส่วนนี้ จากนั้นกดปุ่ม “ยืนยัน”

-
เพื่อทดสอบการผูกราคาขายกับประเภทลูกค้า ให้ไปที่หน้า (1) การขาย POS
จากนั้น (2) เลือกสินค้าที่ตั้งราคาขายตามประเภทลูกค้าไว้ก่อนหน้า และ (3) เลือกลูกค้าที่ต้องการทดสอบ
ระบบจะแสดงราคาขายที่ผูกกับประเภทลูกค้านั้นในตะกร้าสินค้าโดยอัตโนมัติ
Customer Group Pricing in tPHARM (English Version)
Segmenting customers into different groups is a powerful feature for any pharmacy or retail store using an online POS or pharmacy management system. It helps you analyze revenue, see which customer group is most profitable, and decide which segments have lower purchasing power. This information can then be used for marketing analysis and pricing strategies.
In practice, you usually cannot sell the same product at exactly the same price to all customer groups. For example, walk-in customers might pay the standard price, while regular customers or VIP customers receive special discounted prices. tPHARM supports this by allowing different selling prices to be linked to customer groups, making it a flexible program for pharmacy stores and a convenient pos free-style solution for small businesses that need better store and inventory management.
Step-by-step: Linking Selling Prices to Customer Groups
Below is how to configure and test customer-group-based pricing in tPHARM:
-
Open the Database menu on the left and select “Customer”.
This page lists all customers registered in the system.
If you need to learn how to add new customers, see this guide:
How to add customer information (Thai)
-
To add a new customer, click “Add Customer”.
In the customer form, you will see a field named Customer Type, which defaults to “General Customer”.
You can change this to another customer type as needed.
-
tPHARM provides several predefined customer types such as: General Customer, Regular Customer, Wholesale, Close Friend, Shopee, Lazada, etc.
Note: tPHARM does not integrate directly with external platforms yet.
-
After assigning a customer type, a small label (tag) will appear on the left customer list indicating the selected type, e.g. “Close Friend”.
If you don’t see it update immediately, try switching to another menu and then back to the customer database screen.
-
Next, configure selling prices per customer type.
Go to the Stock menu on the left, then select the product you want to edit.
On the product detail page, you’ll see several tabs: General Info, Units, Stock, Selling Price, and History.
Click the “Selling Price” tab.
To edit an existing price, click the corresponding row and then click “Edit”. To create a new selling price, click “Add Selling Price”.
-
A form will appear for adding a new selling price.
Here, you can specify the Customer Type to link the price to, and the unit selling price.
This allows different customer groups to have different prices for the same product.
After filling out the form, click “Confirm” to save.
-
To test your configuration, go to the POS (Point of Sale) screen:
(1) Open the POS page,
(2) Select the product you configured customer-type-based pricing for, and
(3) Choose the customer.
The system will automatically apply the correct selling price in the cart, based on that customer’s type.